Just My Socks + Clash: Complete Setup Guide — 2026 Latest Edition
Wondering how to use Just My Socks with Clash? This article provides the latest JMS Clash configuration tutorial, featuring detailed setup steps, recommended plans, and answers to frequently asked questions.
Table of Contents
Introduction
If you are looking for ways to utilize the Bandwagon Host proxy service, this tutorial will provide a detailed guide on how to configure and use Just My Socks in conjunction with Clash. In addition to covering the specific configuration steps, we will also share Just My Socks promo codes to help you select the most cost-effective plan.
Clash for Windows: Overview and Compatibility
Many users often ask: "Does Clash for Windows support subscriptions?" The answer is a resounding yes. Clash for Windows is a powerful proxy client that fully supports all Just My Socks features, including:
- Support for the Shadowsocks (SS) protocol
- Support for the V2Ray protocol
- Subscription functionality
- Automatic node updates
Clash Client Download
Configuration Tutorial
1. Obtain Node Information
Before using Clash for Windows, you first need to obtain your node information from Just My Socks. As described in the "Obtaining Connection Information" section of the "Complete Guide to Getting Started with Just My Socks," there are two methods for configuration:
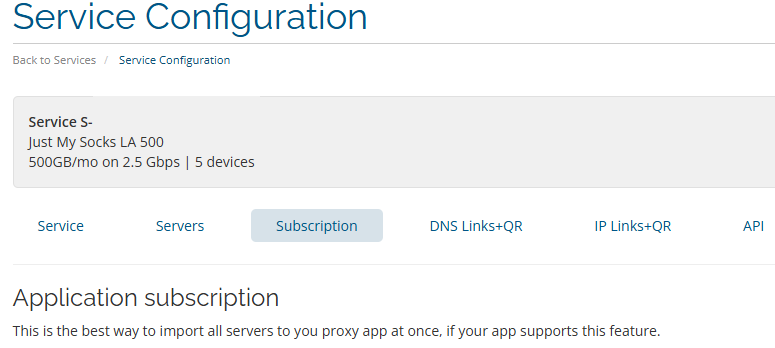
Method 1: Use a Subscription Link (Recommended)
This is the simplest method, requiring just two steps:
- Locate and copy your subscription URL from the Just My Socks control panel, as shown in the image below.
- Use a subscription link conversion tool to convert it into a Clash-compatible subscription link (Clash Subscription Link Converter).
- Import the subscription link into Clash for Windows.
The advantage of using a subscription link is that your node information updates automatically, eliminating the need for manual maintenance.
Method 2: Manually Configure Individual Nodes
If you prefer greater flexibility in controlling your node configuration, you can add them manually:
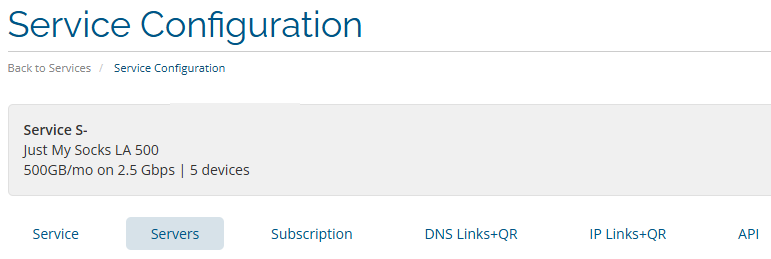
- Locate the Shadowsocks or V2Ray node information within the control panel, as shown in the image below.
- Copy the configuration details for the specific node you wish to use.
- Manually add the server configuration within Clash for Windows.
2. Specific Configuration Steps (Using a Subscription Link as an Example)
2.1 Converting the Just My Socks Subscription Link
Before you begin configuring Clash, you must first convert your Just My Socks subscription link into a format compatible with Clash. This is necessary because the original subscription link provided by JMS requires conversion to function correctly within the Clash application.
Subscription Conversion Steps:
- Visit the subscription conversion website: sub-web.netlify.app
- Paste your Just My Socks subscription link into the input field.
- Select "Clash" from the [Client] dropdown menu.
- Click the [Generate Subscription Link] button.
- Click the "Copy" button located to the right of [Custom Subscription] to retrieve the converted link.
Security Note: This subscription conversion tool utilizes purely front-end conversion technology; the entire conversion process takes place locally within your browser, so there is no need to be concerned about data security issues. If you have stricter security requirements, you may review the open-source code and deploy the tool yourself.
2.2 Importing Subscription Configuration
Once you have obtained the converted subscription link, you can choose one of the following two methods to import the configuration into Clash:
Method 1: Manual Import
- Launch the Clash Verge client.
- Switch to the [Subscriptions] tab.
- Paste the converted subscription link into the [Subscription URL] input field.
- Click the [Import] button to complete the configuration.
Method 2: One-Click Import to Clash
- Click the [One-Click Import] button on the subscription conversion website.
- Select [Confirm] in the prompt that appears.
- The system will automatically launch Clash and complete the configuration import.
2.3 Selecting a Node and Completing Setup
Node Selection and Configuration Steps:
- Click the [Proxies] tab to view the list of available nodes.
- Click the [Latency Test] button in the top-right corner; the system will automatically test the response time of all nodes.
- Select a node with low latency; the lower the latency, the faster the access speed.
- In the [Mode] selection:
- [Global] Mode: All traffic passes through the proxy.
- [Rule] Mode: Intelligently routes traffic based on configured rules (Recommended).
Just My Socks Discount Plans
Bandwagon Host Proxy Service Promotions
Just My Socks currently offers a variety of discount packages. Below are our recommendations for the most cost-effective Just My Socks plans:
| Plan Name | Monthly Data | Bandwidth | Supported Devices | Price |
|---|---|---|---|---|
| LA 500 | 500GB | 2.5Gbps | Up to 5 devices | $5.88/month |
| LA 1000 | 1000GB | 5Gbps | Unlimited | $9.88/month |
JMS Coupon Usage Guide
How to obtain and use Just My Socks promo codes:
🎉 Exclusive Offer: Use promo code JMS9272283 to enjoy a 5.2% discount.
Frequently Asked Questions (FAQ)
Clash Verge Configuration Issues
Q: How do I update my subscription in Clash for Windows (Clash Verge)?
A: Updating your subscription is very simple; there are two methods:
- Manual Update: On the main interface of Clash for Windows, click the "Configuration" tab, locate your configuration file, and simply click the "Update" button on the right side.
- Automatic Updates: On the "Configuration" tab, click the settings icon located to the right of the configuration file to set the automatic update interval (a setting of 6–12 hours is recommended).
Q: How do I choose the best node?
A: You can follow these principles when selecting the best node:
- Use the Latency Test feature: On the "Proxies" page in Clash, click the lightning bolt icon in the top-right corner to perform a latency test; generally, you should select nodes with a latency of less than 100ms.
- Select based on usage:
- Web Browsing: Prioritize nodes with low latency.
- Video Streaming: Prioritize nodes with high bandwidth.
- For services like ChatGPT: It is recommended to select nodes located in the United States.
- Avoid Peak Hours: If you notice that a node's speed has slowed down, try switching to a node located in a different region.
Just My Socks Related Questions
Q: How do I choose the right plan for my needs?
A: Generally speaking, if you only use it for searching for information on Google, the cheapest plan will suffice. If you enjoy watching videos—and do so frequently—then you should choose the 500 or 1000 plan. Please note that the cheaper plans have device limitations; if you intend to share the service with multiple users, it is recommended to choose the 1000 plan, as it does not impose any limits on the number of devices.
Q: What payment methods are accepted?
A: Just My Socks supports payment via PayPal and Alipay.
Related Resources
Conclusion
Through this tutorial, we trust that you have now mastered how to configure Clash using Just My Socks. If you are still looking for promotional offers for the Just My Socks (Bandwagon Host) proxy service, we recommend bookmarking this tutorial for future reference.